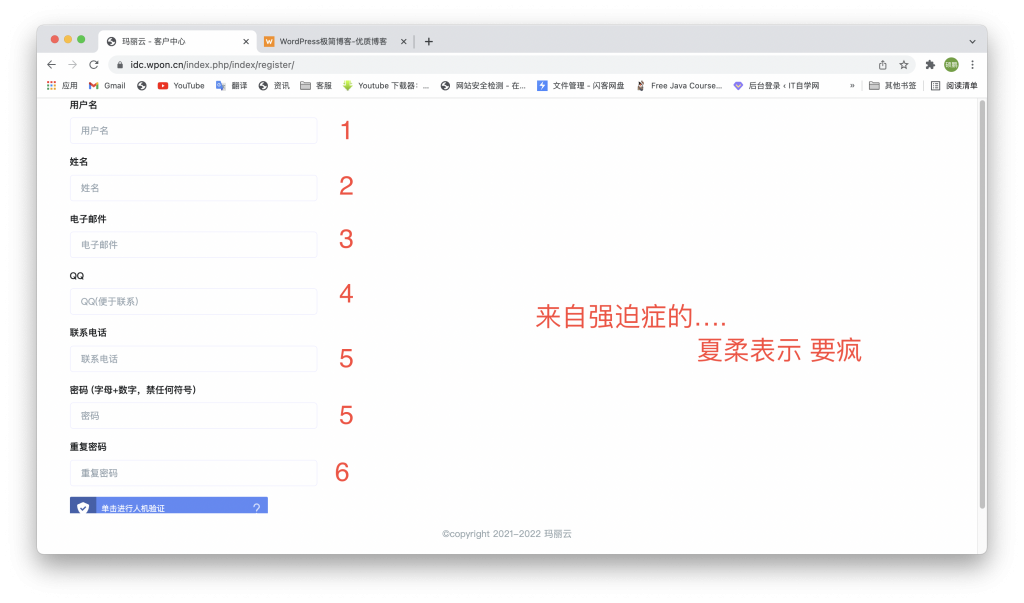
夏柔这段时间上线了自营IDC项目(阅读更多),使用的SWAPIDC系统,不过令人头疼的是这个注册模块,要填写很多信息,如图:
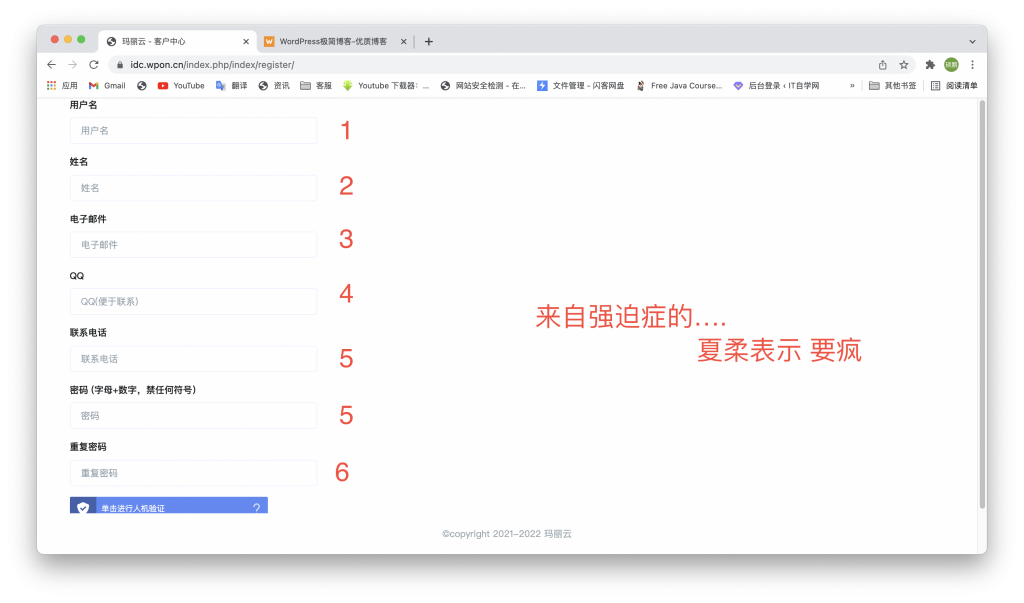
数一下,1、2、3、4、5 ... 这么多信息填写的多么令人烦厌,客户的第一反应就对这个网站产生了反感!
教程开始&减少注册信息
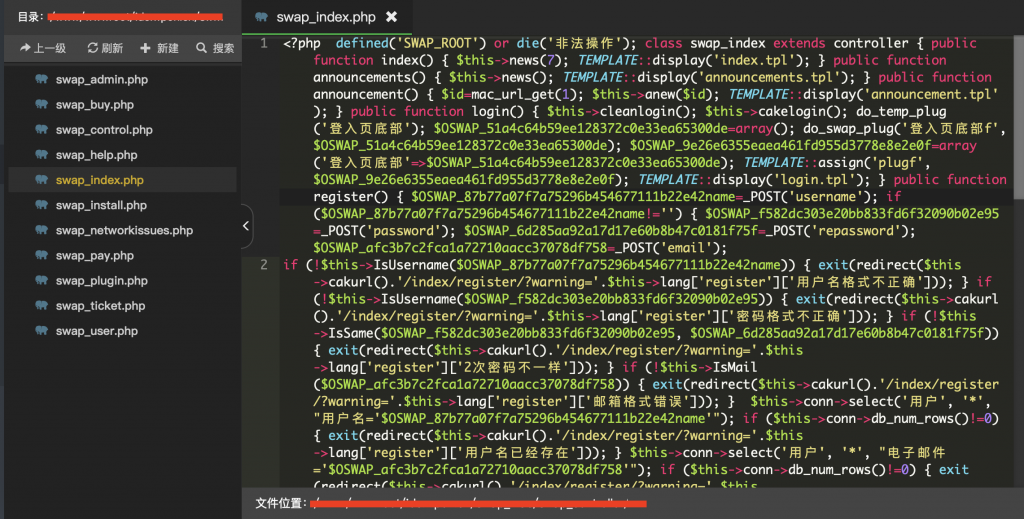
夏柔在摸索的过程中发现了这个验证规则在 swap_index.php 文件里面,如图:
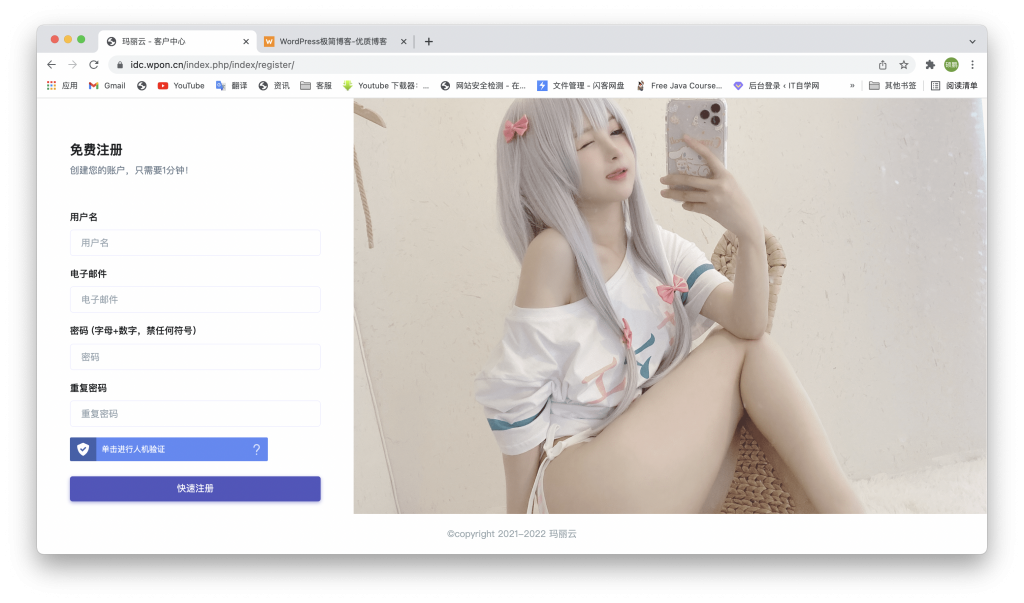
经过夏柔的极致修改,已经将此功能改成了只需要用户填写用户名、邮箱、密码即可完成登录!

体验地址&视频录屏
传送门:https://idc.wpon.cn/index.php/index/register/
注:上面的不是swapidc那些开发者的模板,不要搞混了,这是采用bootstrap做的;
教程一&减少注册信息
将以下文件覆盖至 /swap_mac/swap_controller 目录 或将 swap_index.php 所有的代码全部替换为以下文件里的;
然后将以下文件覆盖至您的主题目录:(和夏柔的注册页面同步)
防注册刷注册量教程
不知道你们有没有注意到上面图里的“ 单机进行人机验证 ”;
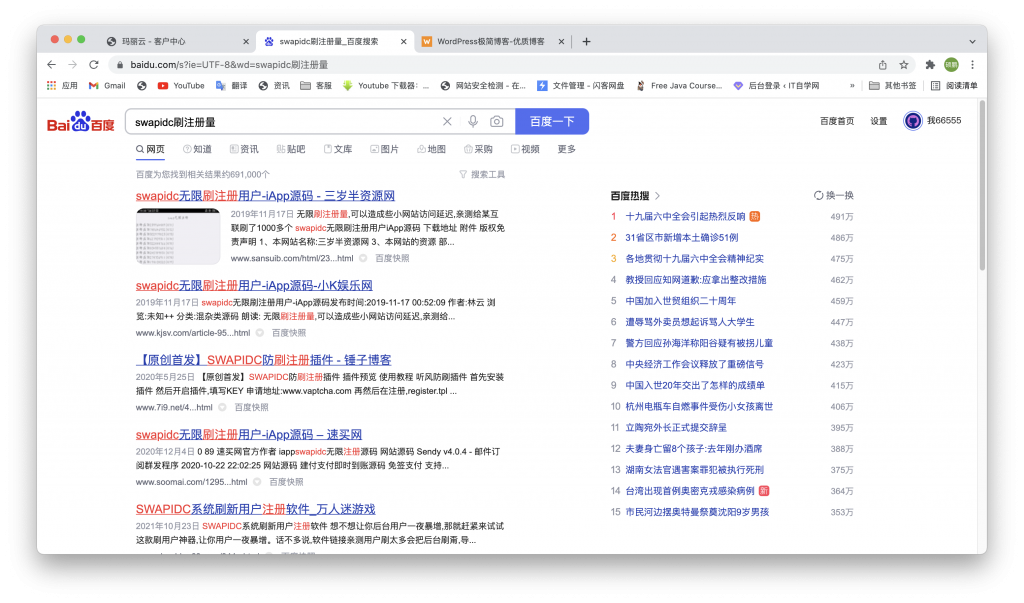
因为刚刚夏柔在改那个注册规则嘛,然后发现注册量蹭蹭上涨,这百度了一下才发现还有所谓的刷注册量源代码!
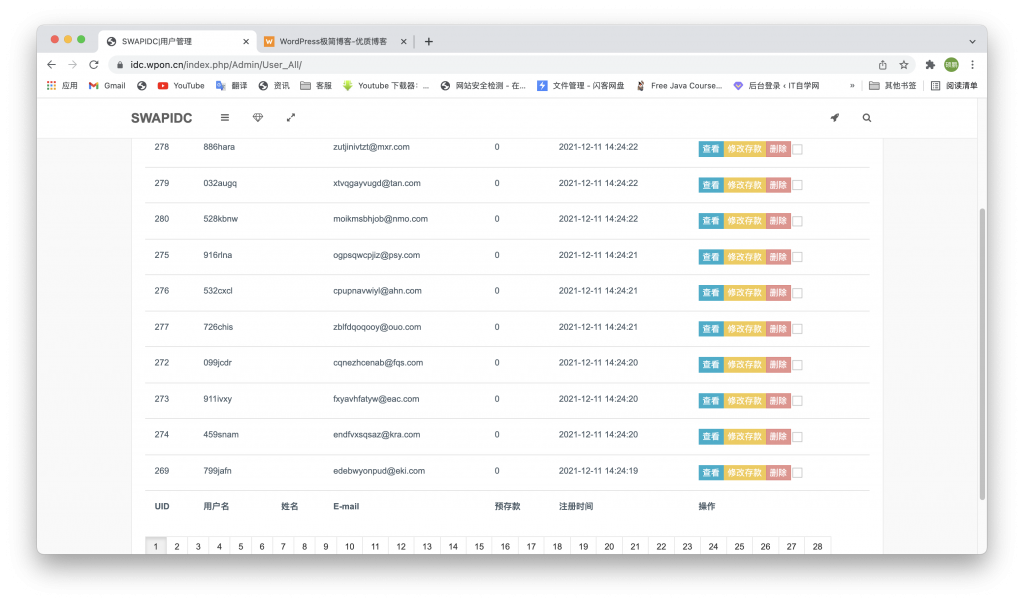
夏柔的后台数量当时也是每秒就有好几个注册的;
紧接着夏柔发现了个 防刷注册插件,不过他们的代码规则都有一些问题,夏柔在这里给大家重新写一遍最新的验证代码;
教程开始&防刷注册量
进入目录 /swap_mac/swap_plugins 创建插件目录名为:register_fs 并将下面的源代码解压上传至 register_fs 目录下;
然后来到后台 - 插件 - 注册验证码KEY填写,如图:
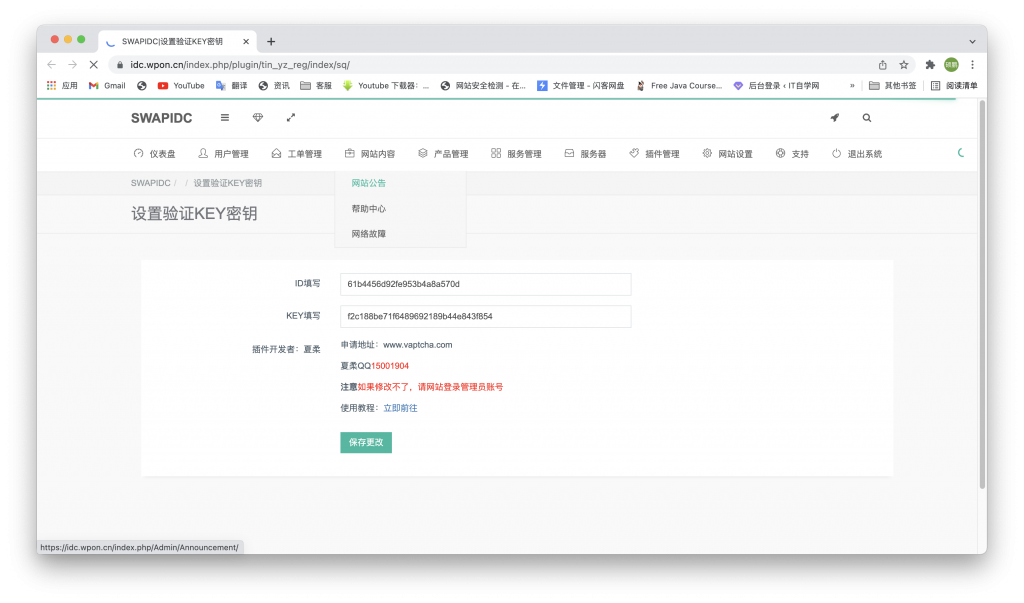
将你在 https://www.vaptcha.com 申请的ID密钥填写进去即可;
然后进入你的 register.tpl 文件,或使用下面已经做好的注册页面;
在你的注册button按钮添加onclick事件:
onclick="sub()" class="hzSkDg"
form标签添加id以及钩子
id="login-form" action=""
在register.tpl底部加上
{$plug['HEAD区域']}再然后在注册button按钮上面填写以下代码:
<style>
   .vaptcha-init-main {
       display: table;
       width: 100%;
       height: 100%;
       background-color: #eeeeee;
   }
   .vaptcha-init-loading {
       display: table-cell;
       vertical-align: middle;
       text-align: center;
   }

   .vaptcha-init-loading > a {
       display: inline-block;
       width: 18px;
       height: 18px;
       border: none;
   }

   .vaptcha-init-loading .vaptcha-text {
       font-family: sans-serif;
       font-size: 12px;
       color: #cccccc;
       vertical-align: middle;
   }
   </style>
   <!-- 点击式按钮建议高度介于36px与46px  -->
   <div id="vaptchaContainer" style="width: 300px;height: 36px;">
   <!--vaptcha-container是用来引入VAPTCHA的容器,下面代码为预加载动画,仅供参考-->
   <div class="vaptcha-init-main">
       <div class="vaptcha-init-loading">
        <a href="/" target="_blank">
               <svg
               xmlns="http://www.w3.org/2000/svg"
               xmlns:xlink="http://www.w3.org/1999/xlink"
               width="48px"
               height="60px"
               viewBox="0 0 24 30"
               style="enable-background: new 0 0 50 50; width: 14px; height: 14px; vertical-align: middle"
               xml:space="preserve"
               >
                   <rect x="0" y="9.22656" width="4" height="12.5469" fill="#CCCCCC">
                       <animate attributeName="height" attributeType="XML" values="5;21;5" begin="0s" dur="0.6s" repeatCount="indefinite"></animate>
                   <animate attributeName="y" attributeType="XML" values="13; 5; 13" begin="0s" dur="0.6s" repeatCount="indefinite"></animate>
                   </rect>
                   <rect x="10" y="5.22656" width="4" height="20.5469" fill="#CCCCCC">
                       <animate attributeName="height" attributeType="XML" values="5;21;5" begin="0.15s" dur="0.6s" repeatCount="indefinite"></animate>
                   <animate attributeName="y" attributeType="XML" values="13; 5; 13" begin="0.15s" dur="0.6s" repeatCount="indefinite"></animate>
                   </rect>
                   <rect x="20" y="8.77344" width="4" height="13.4531" fill="#CCCCCC">
                       <animate attributeName="height" attributeType="XML" values="5;21;5" begin="0.3s" dur="0.6s" repeatCount="indefinite"></animate>
                   <animate attributeName="y" attributeType="XML" values="13; 5; 13" begin="0.3s" dur="0.6s" repeatCount="indefinite"></animate>
                   </rect>
               </svg>
           </a>
        <span class="vaptcha-text">Vaptcha Initializing...</span>
       </div>
   </div>
</div></div>
   <script src="https://v-cn.vaptcha.com/v3.js"></script>

<script>
   vaptcha({
       //配置参数
       vid: '****', // 验证单元id
       type: 'click', // 展现类型 点击式
       container: '#vaptchaContainer', // 按钮容器,可为Element 或者 selector

       ... //其他配置参数省略
   }).then(function (vaptchaObj) {
       vaptchaObj.render()// 调用验证实例 vaptchaObj 的 render 方法加载验证按钮

       ... //其他事件处理
   })
</script><br>
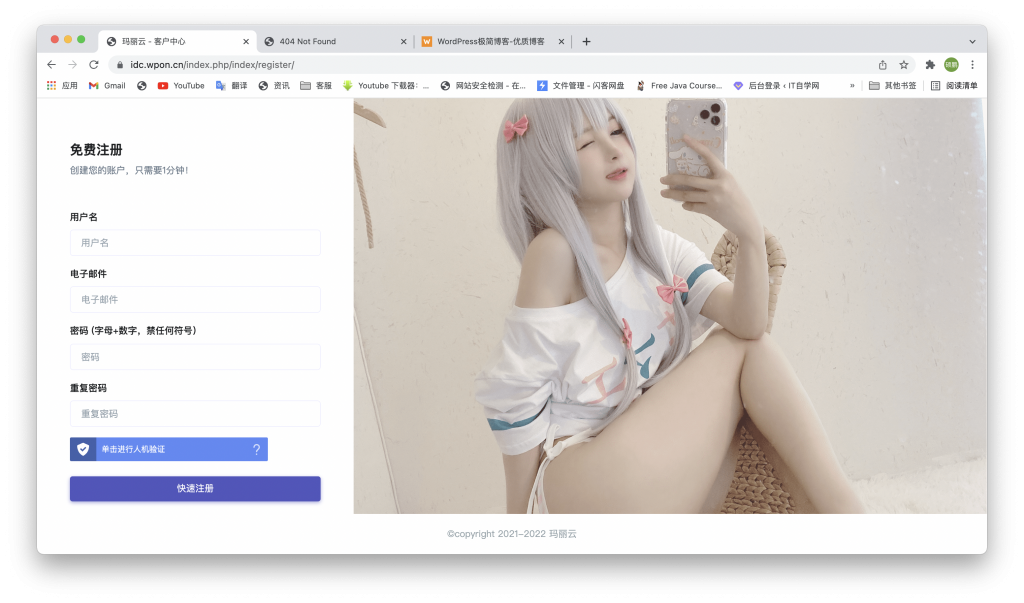
弄好后请看实测效果图:
End,教程就到这里了,如果还有什么不懂的地方记得联系夏柔哦,夏柔QQ:15001904
